Step 1
Step 1
Start with a short curved stem. Keep the little hook at the top of the page.
Step 1
Draw a pumpkin
Step 2
Bring it to life in Giant
Each picture adds a few lines to the last one. Copy the new lines, then keep going.
Step 1
Start with a short curved stem. Keep the little hook at the top of the page.
Step 2
Draw a curved line under the stem. This is the top of the pumpkin.
Step 3
Close the pumpkin with a wide round body under that curve.
Step 4
Draw a line down the middle for the center rib.
Step 5
Add one rib curve on the left and one on the right.
Step 6
Add two more rib curves near the outer sides.
Step 7
Draw two small happy eyes in the upper middle.
Step 8
Make the eyes a little thicker so they read clearly.
Step 9
Add a wide smile under the eyes.
Step 10
Open the smile into a big grin.
Step 11
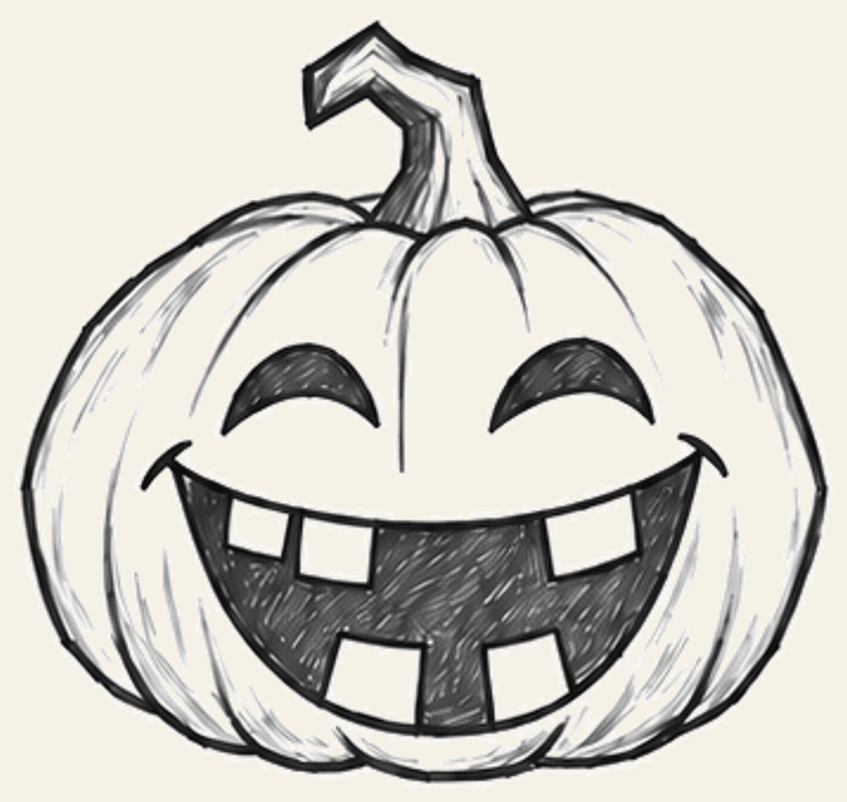
Add square teeth along the grin.
Step 12
Shade the mouth around the teeth. That finishes the jack-o'-lantern.
In Giant
Finish your picture. Then download Giant and snap a photo. We turn kid drawings into characters you can talk with.
Download GiantKeep drawing